06 of February of 2025
Looker Studio Password Login: Secure Access Without Code

Isaac Correa
Learn how to add login protection to your Looker Studio dashboards—without writing a single line of code.
How to Create a Secure Login System in Looker Studio Without Code
Restricting access to sensitive data is essential. Whether you’re handling financial reports, employee records, or customer data, not everyone should see everything.
Looker Studio makes it possible—without external authentication tools or coding. With just a few simple steps, you can ensure each user only sees their own data, keeping your reports both secure and relevant.
Why You Need a Login System in Looker Studio
A well-designed dashboard should be personalized and private. Instead of showing an entire dataset to every viewer, this setup lets users enter their credentials and see only their relevant information.
What This Achieves
- Security – Data is hidden by default and only visible to the correct user.
- Better user experience – No distractions, only relevant insights.
- No coding required – Uses Looker Studio’s built-in features.
Looking to enhance your reports? Our Looker Studio templates offer beautifully designed dashboards ready to use.
Step 1: Creating the Login Field
To allow users to log in, create a password input field using Looker Studio parameters.
How to Set It Up
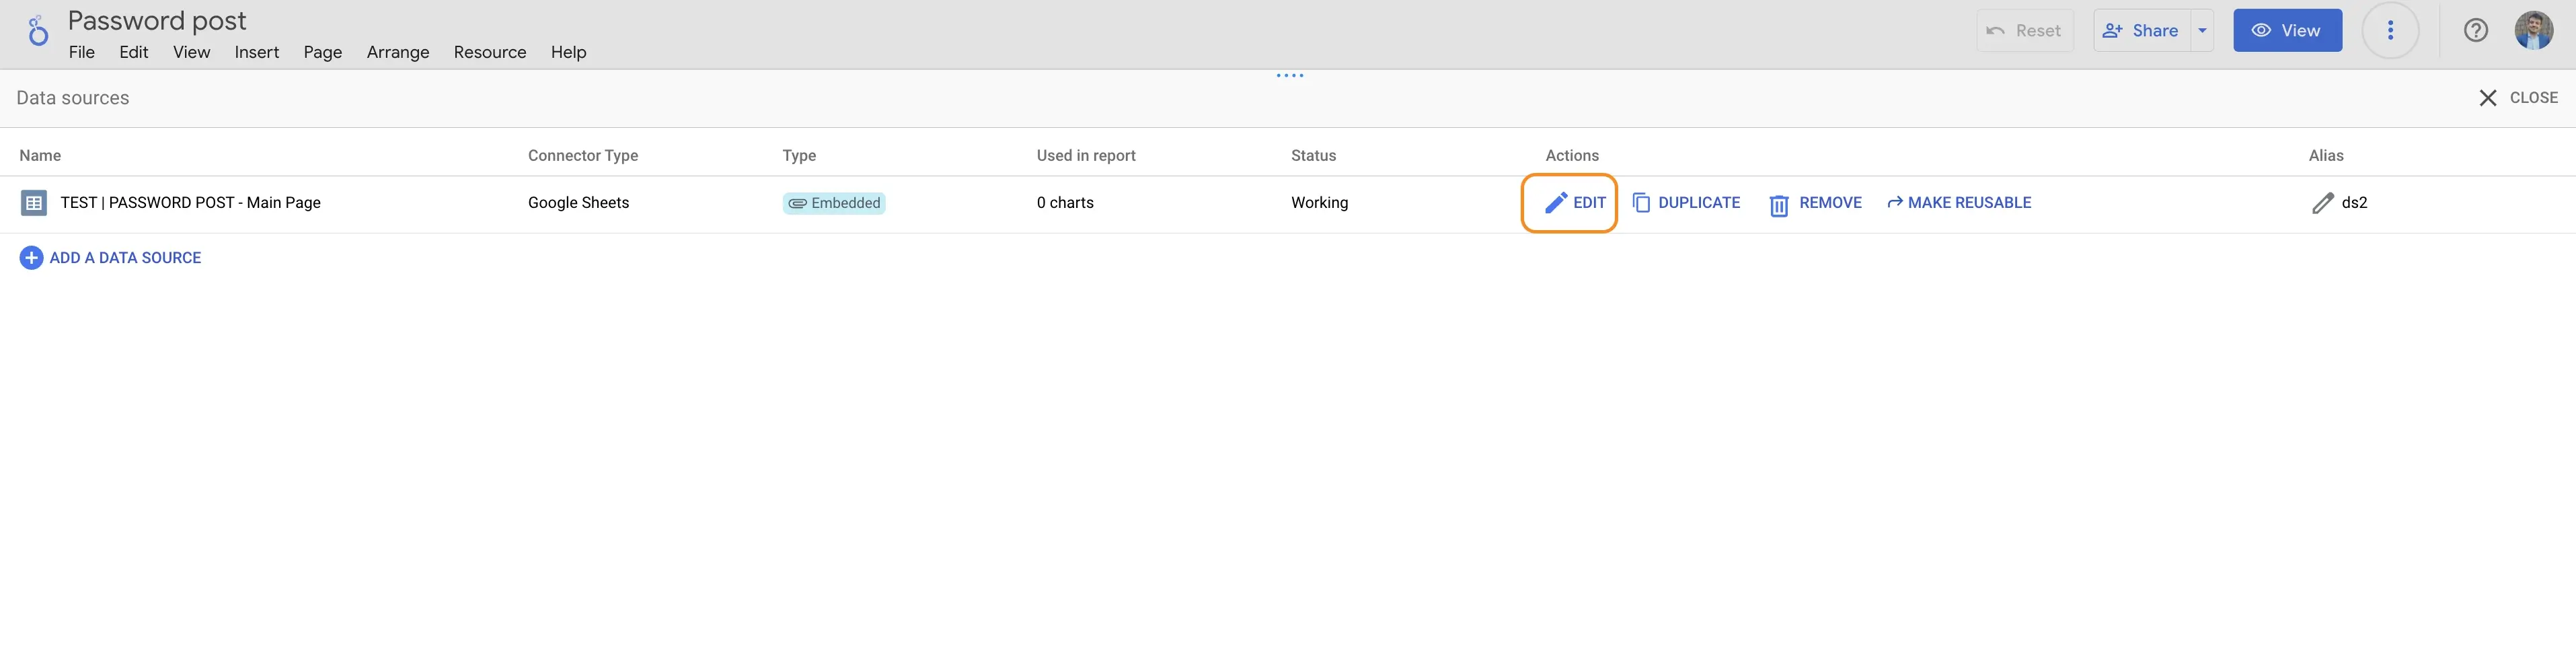
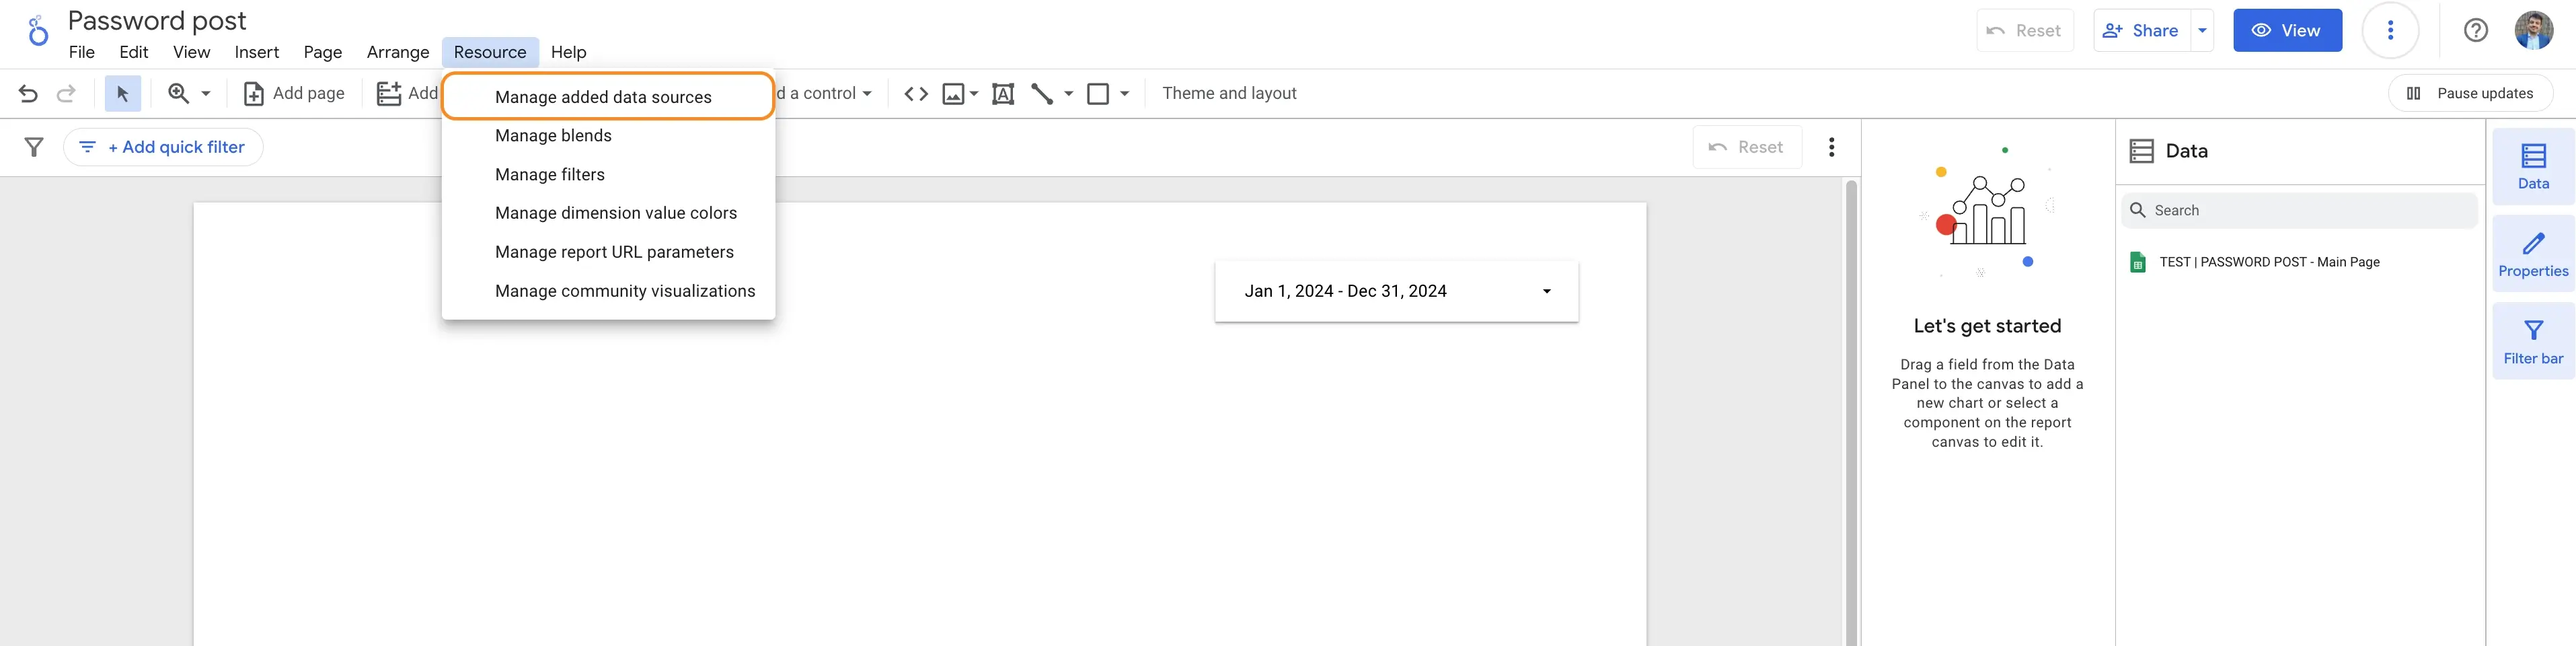
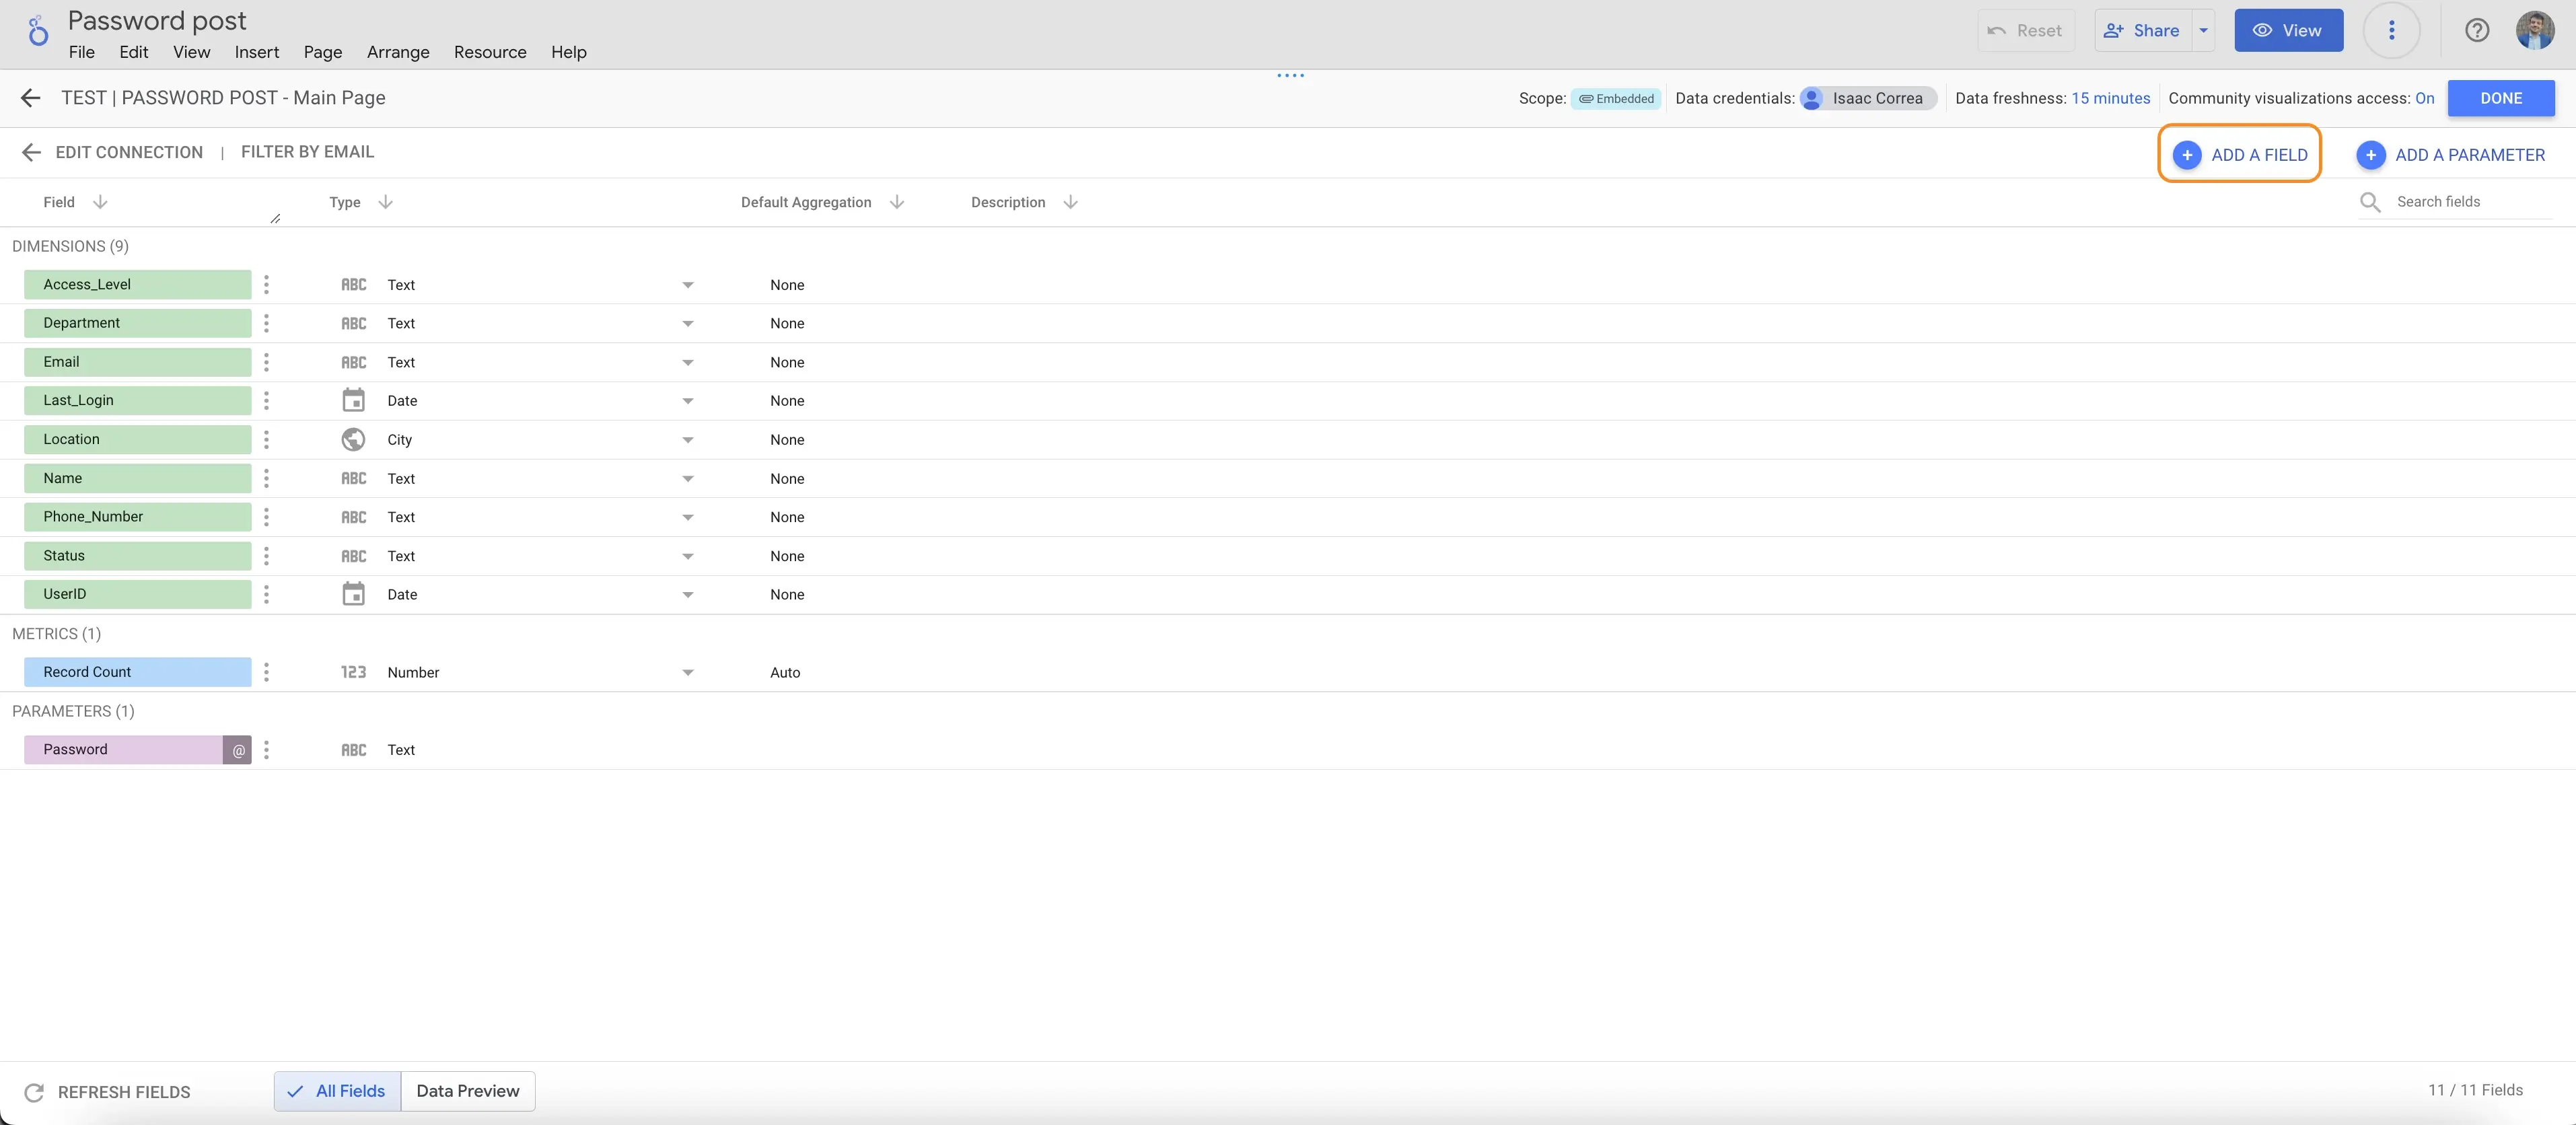
- Open your data source in Looker Studio.
- Click “Add a Field”, then select “Parameter”.
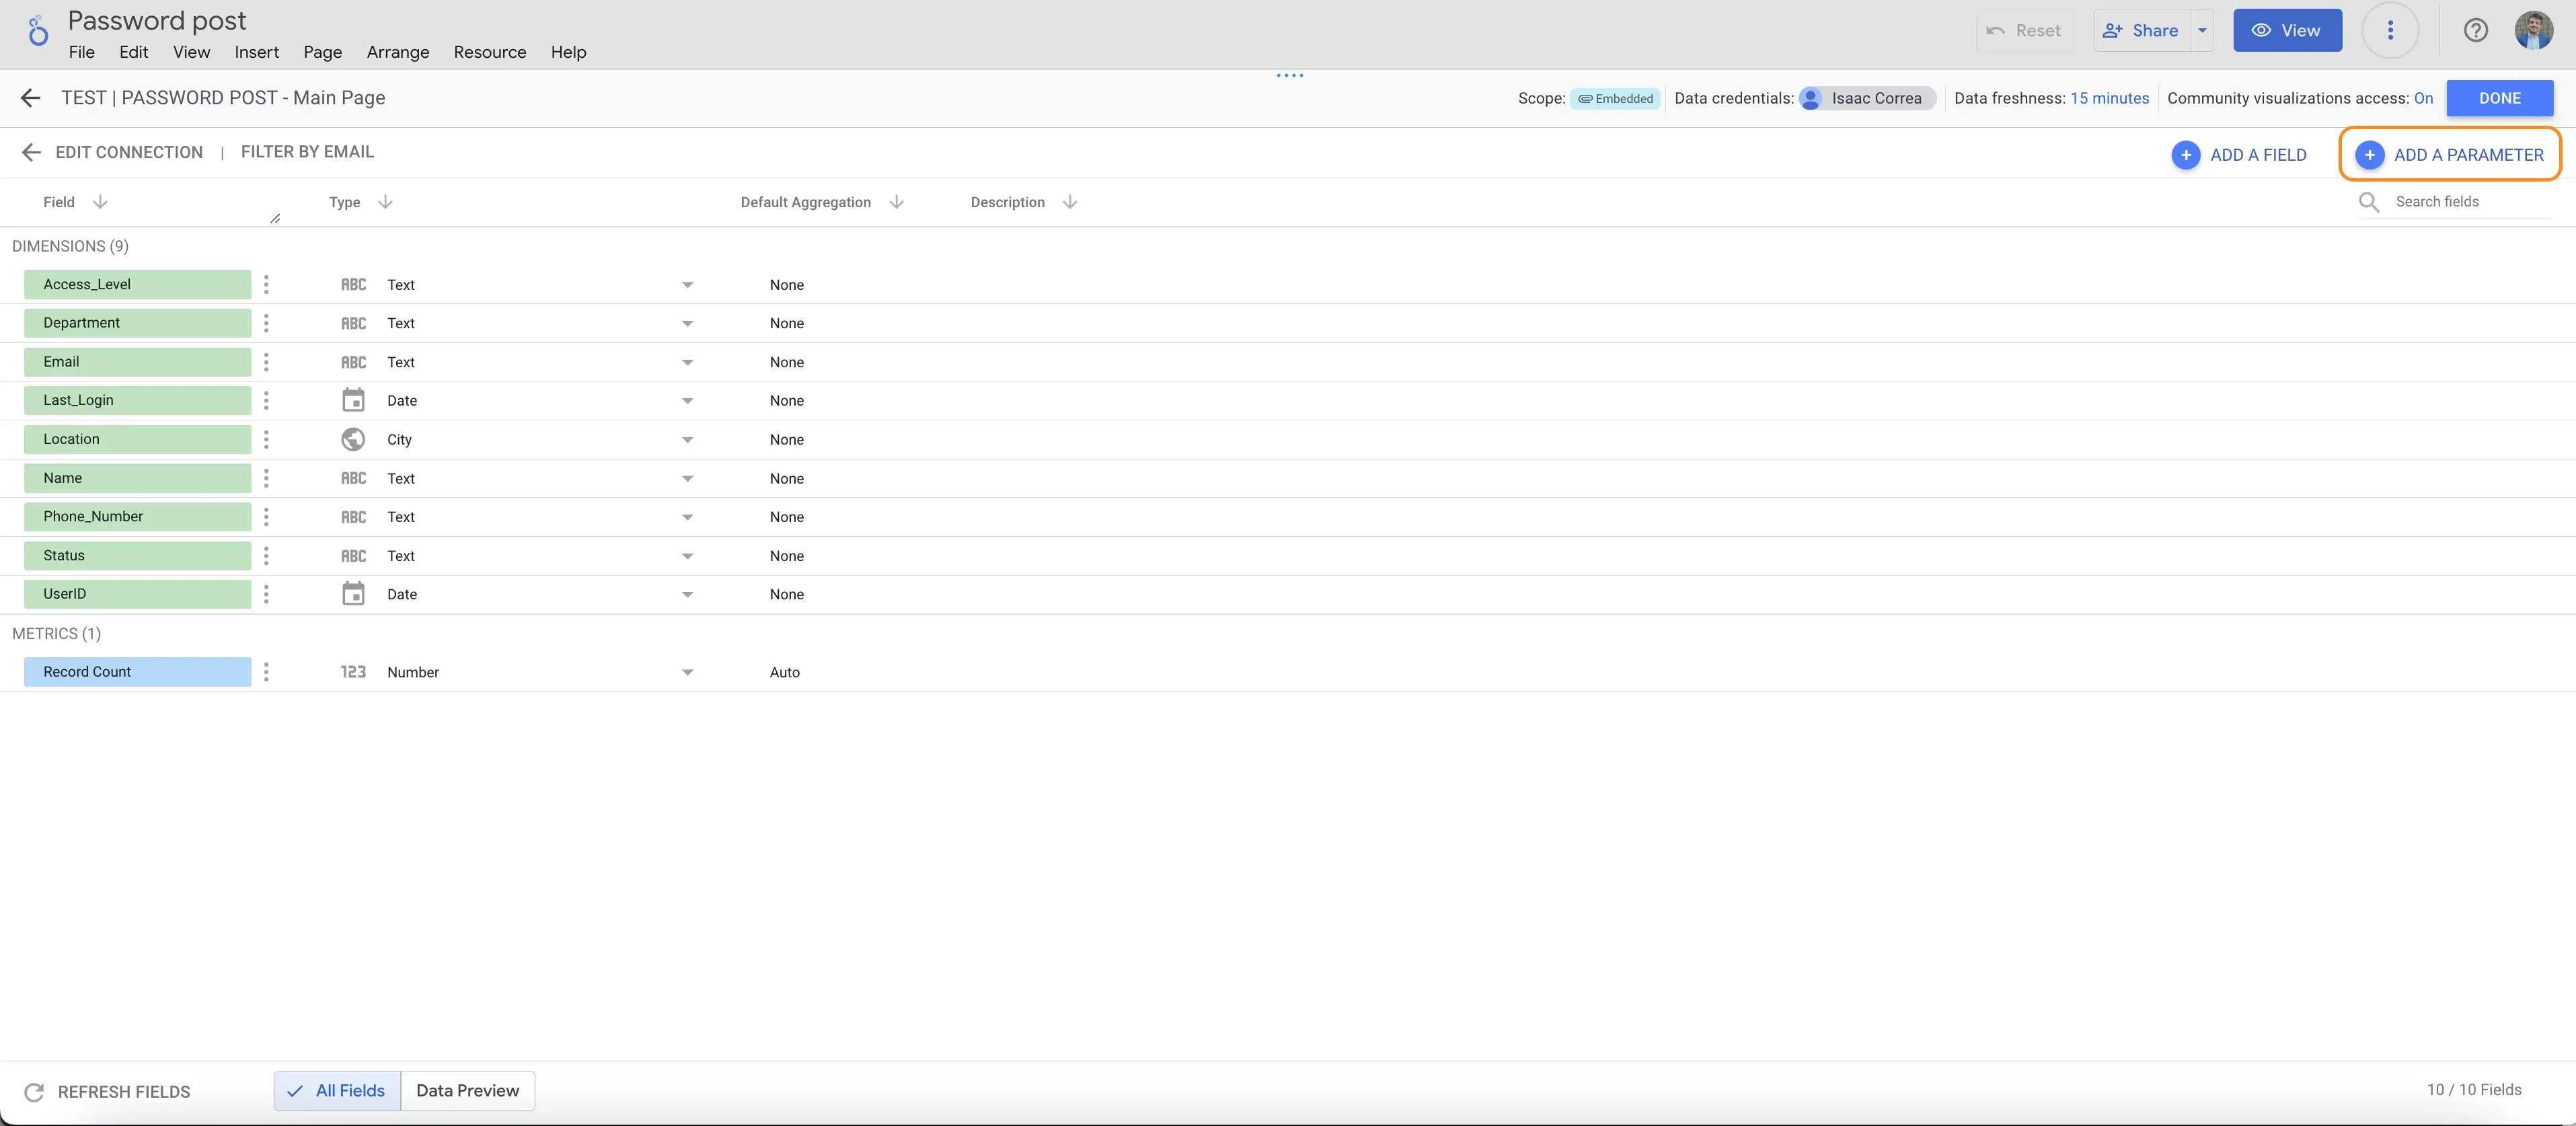
- Set it up as follows:

- Name: password
- Type: Text (or Number if your UserIDs are numeric)
- Default Value: Leave blank
This parameter acts as the login field where users enter their credentials. Save the settings and return to the previous screen by clicking the "ALL FIELDS" arrow.
Step 2: Matching the Password to a UserID
Now, Looker Studio needs to verify if the entered password corresponds to a valid UserID.
To do this, create a calculated field that checks whether the password matches an existing UserID.
- Go to the data source field list and click "New Field".
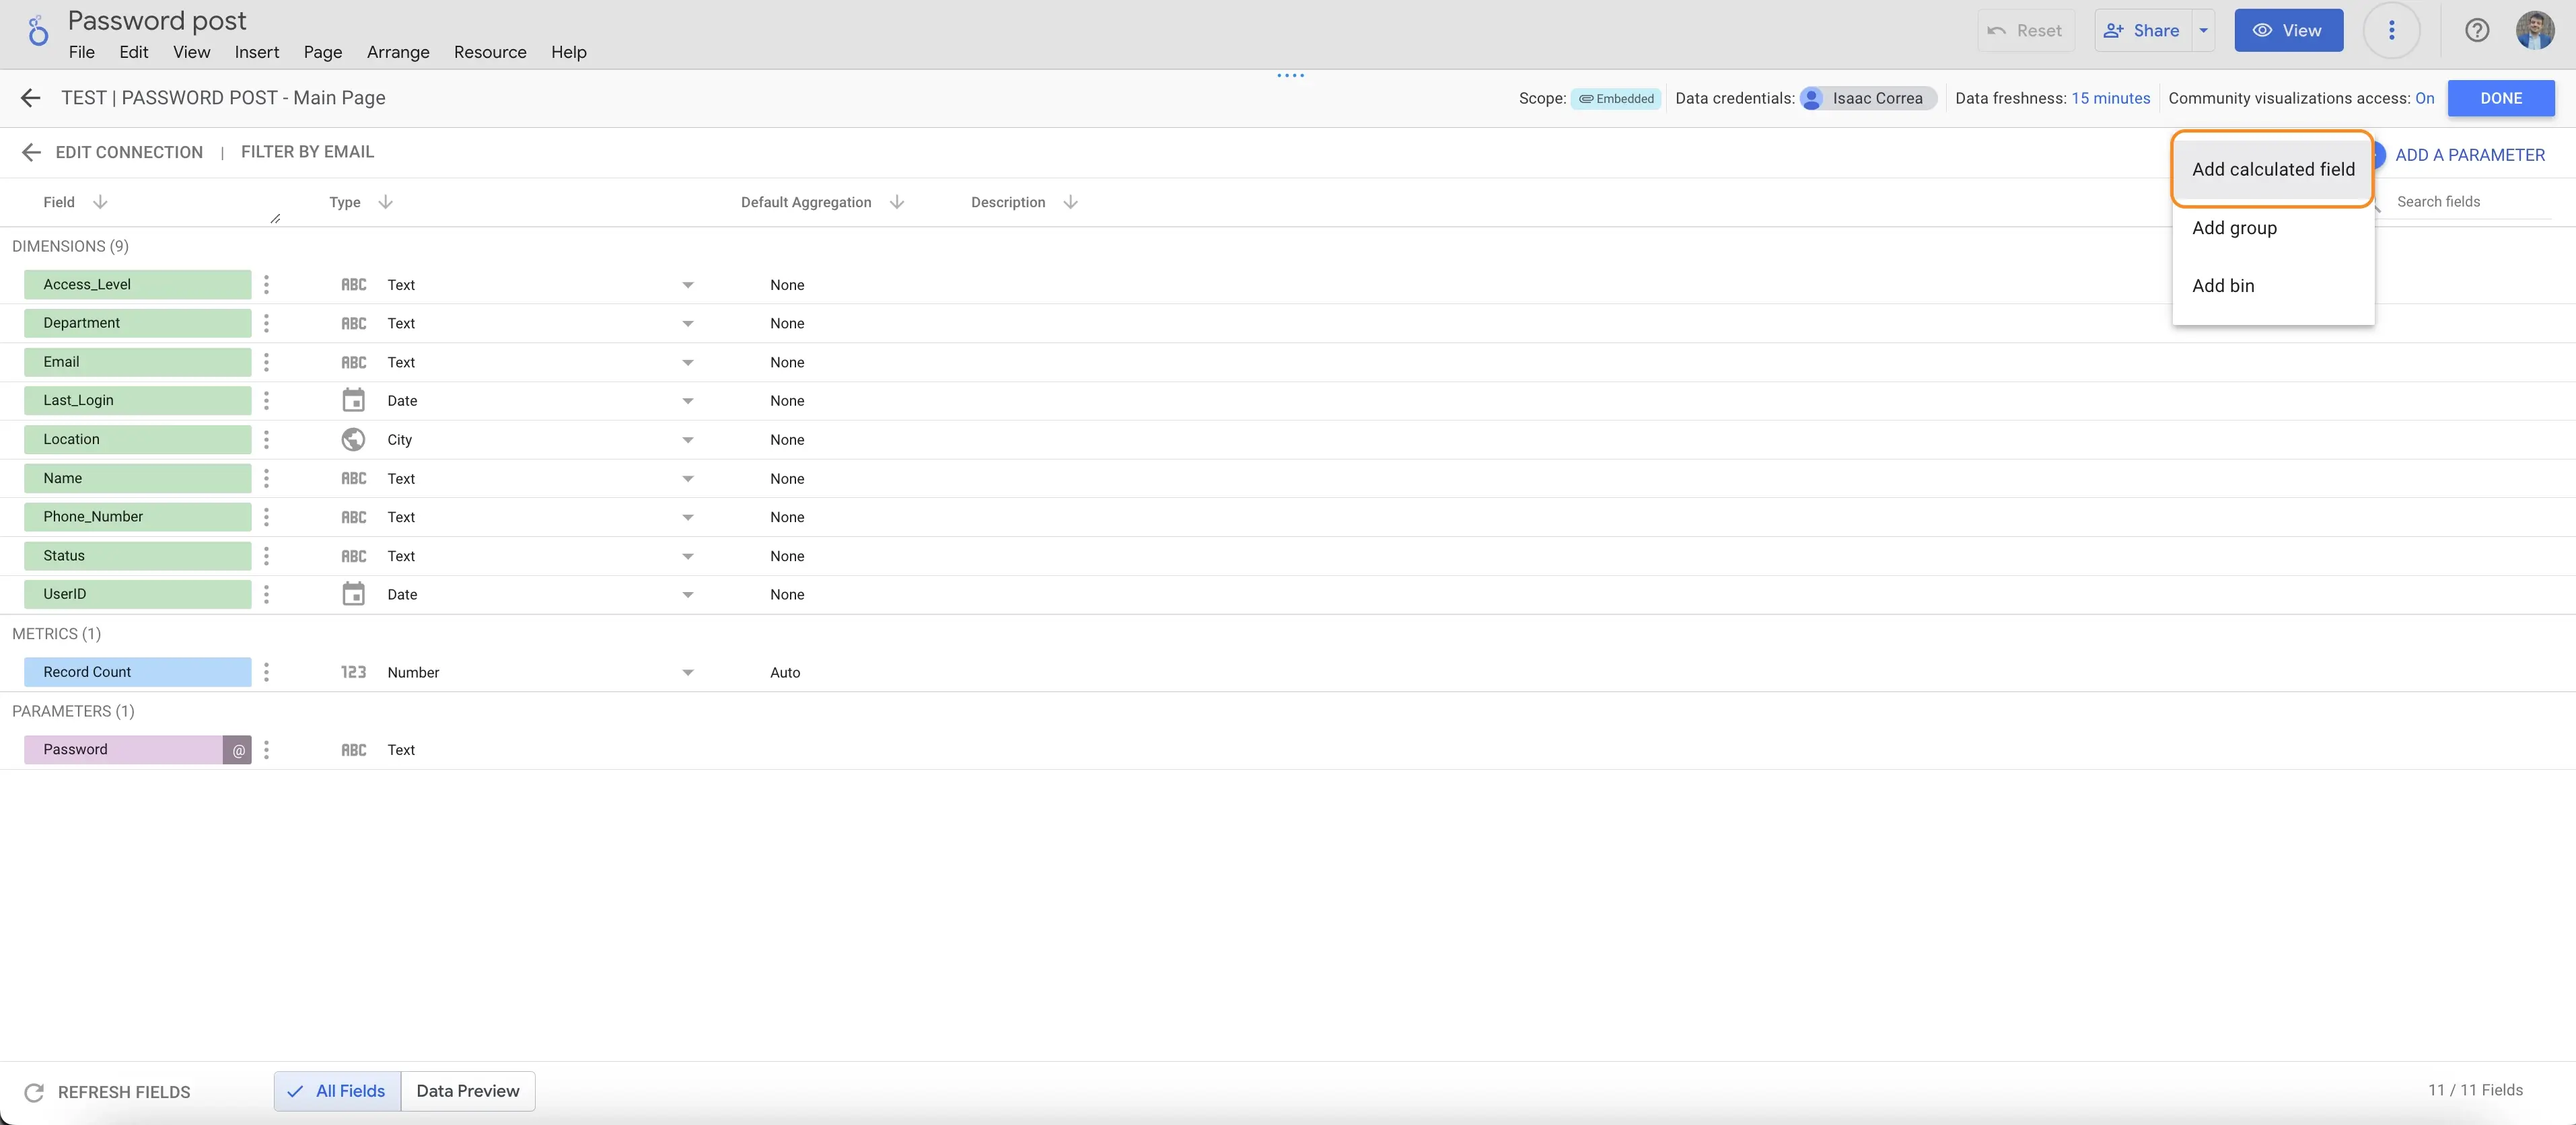
- Click "Add Calculated Field".
Formula in Looker Studio
We will use the following formula, replacing UserID with the column where your user login credentials are stored.
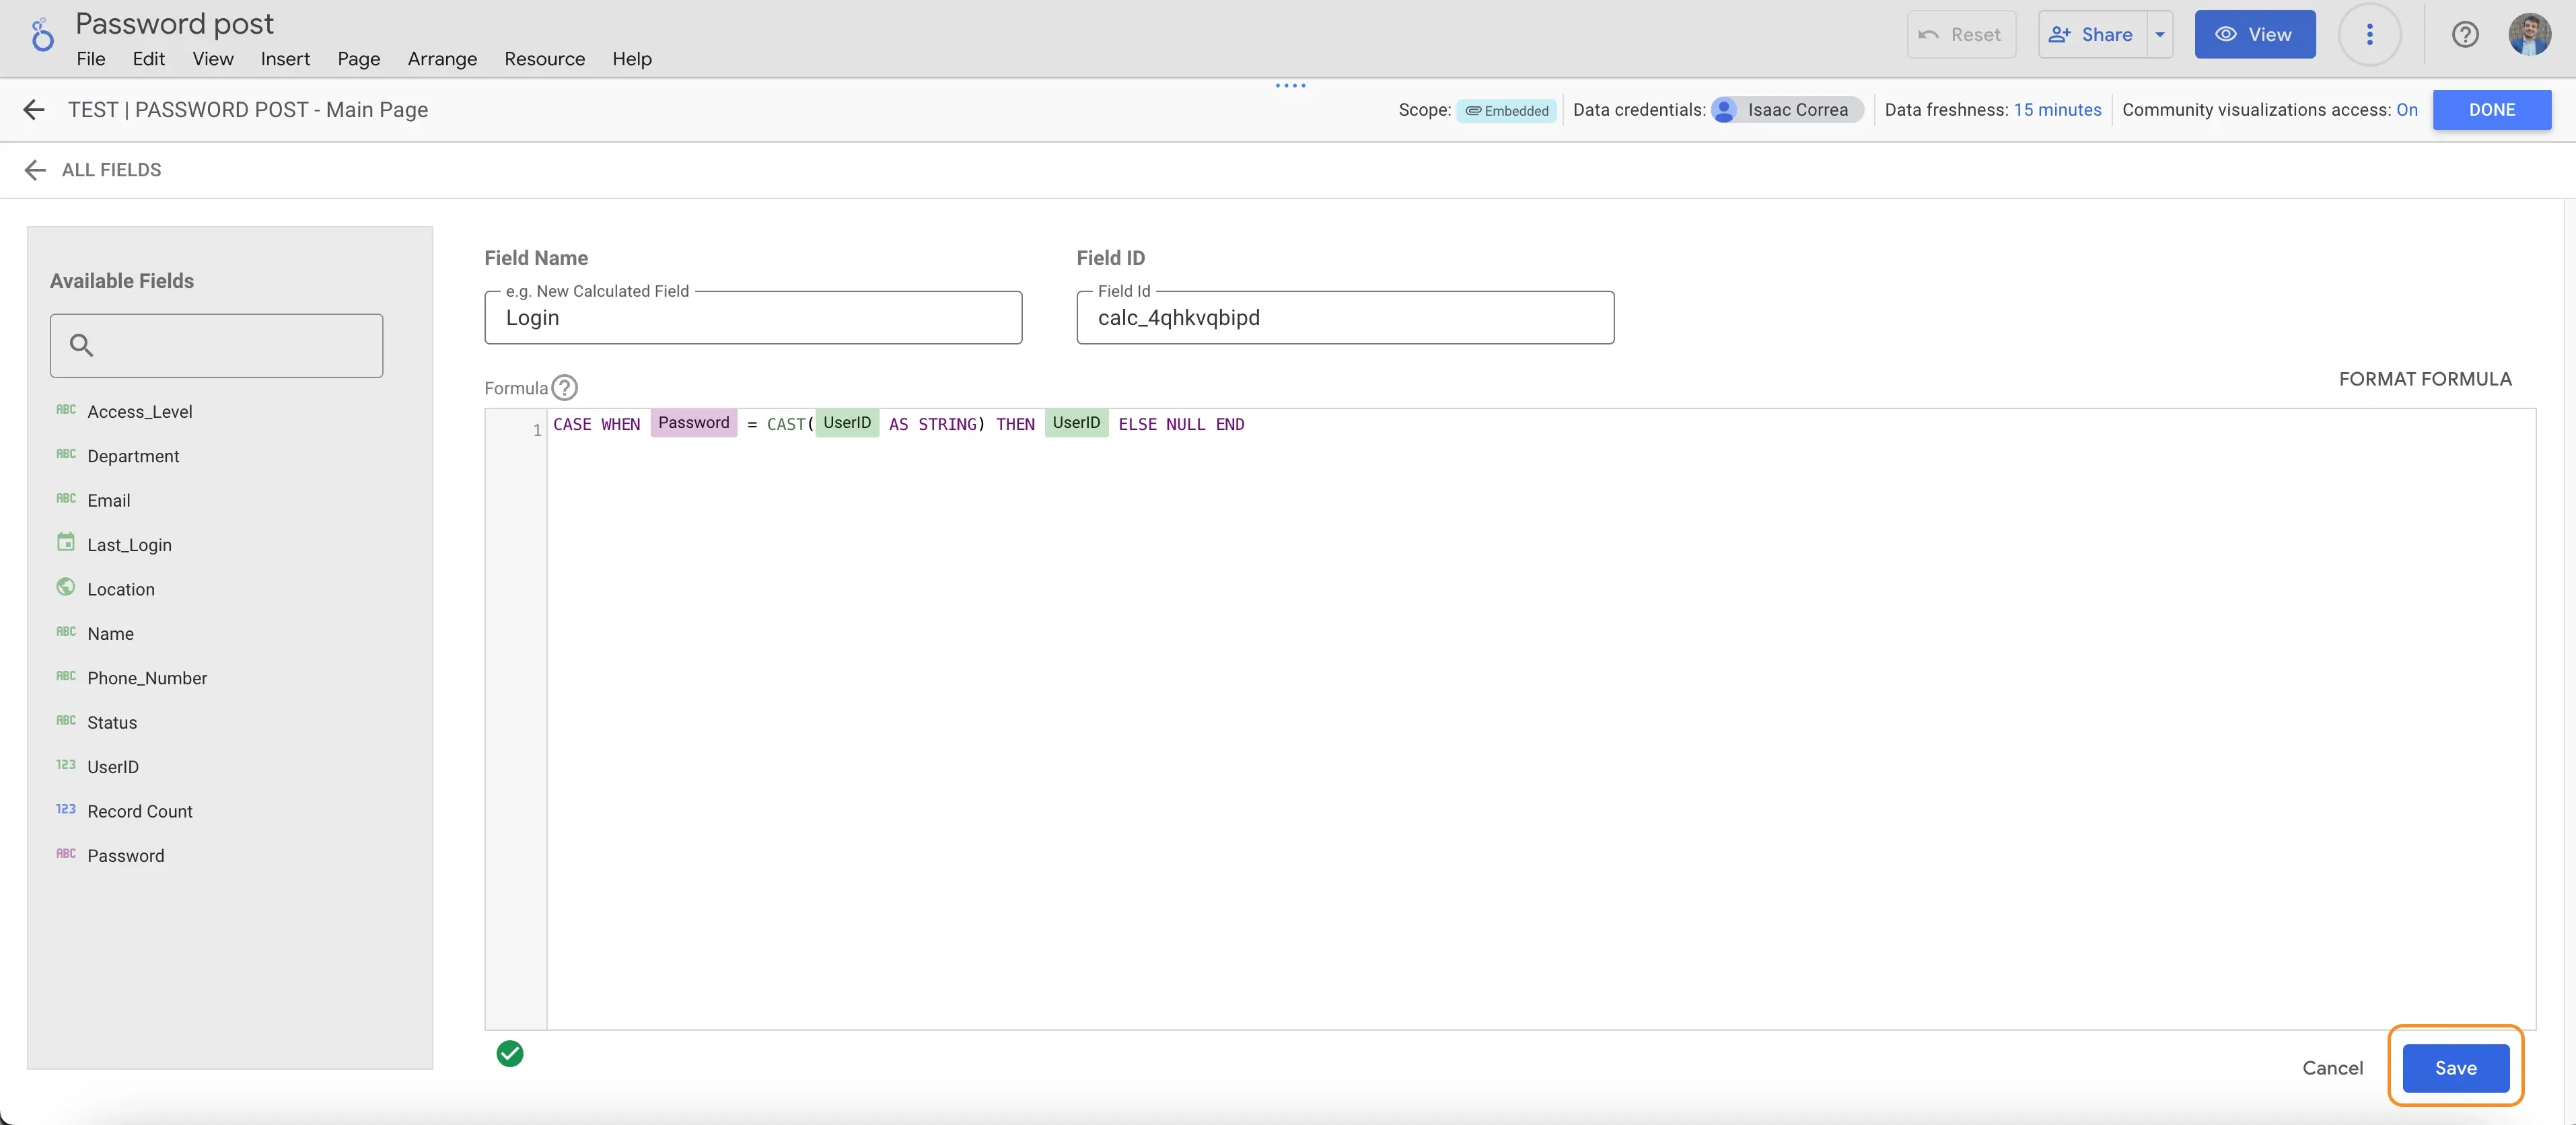
CASE WHEN password = CAST(UserID AS STRING) THEN UserID ELSE NULL END
If the password matches a UserID, Looker Studio will display data. If not, the report remains blank.
Name the calculated field "Login"—we will reference it in the next step. Save the field once done.
Step 3: Filtering Data Based on User Input
Now that Looker Studio can verify credentials, we need to ensure that data is only displayed if the login is correct.
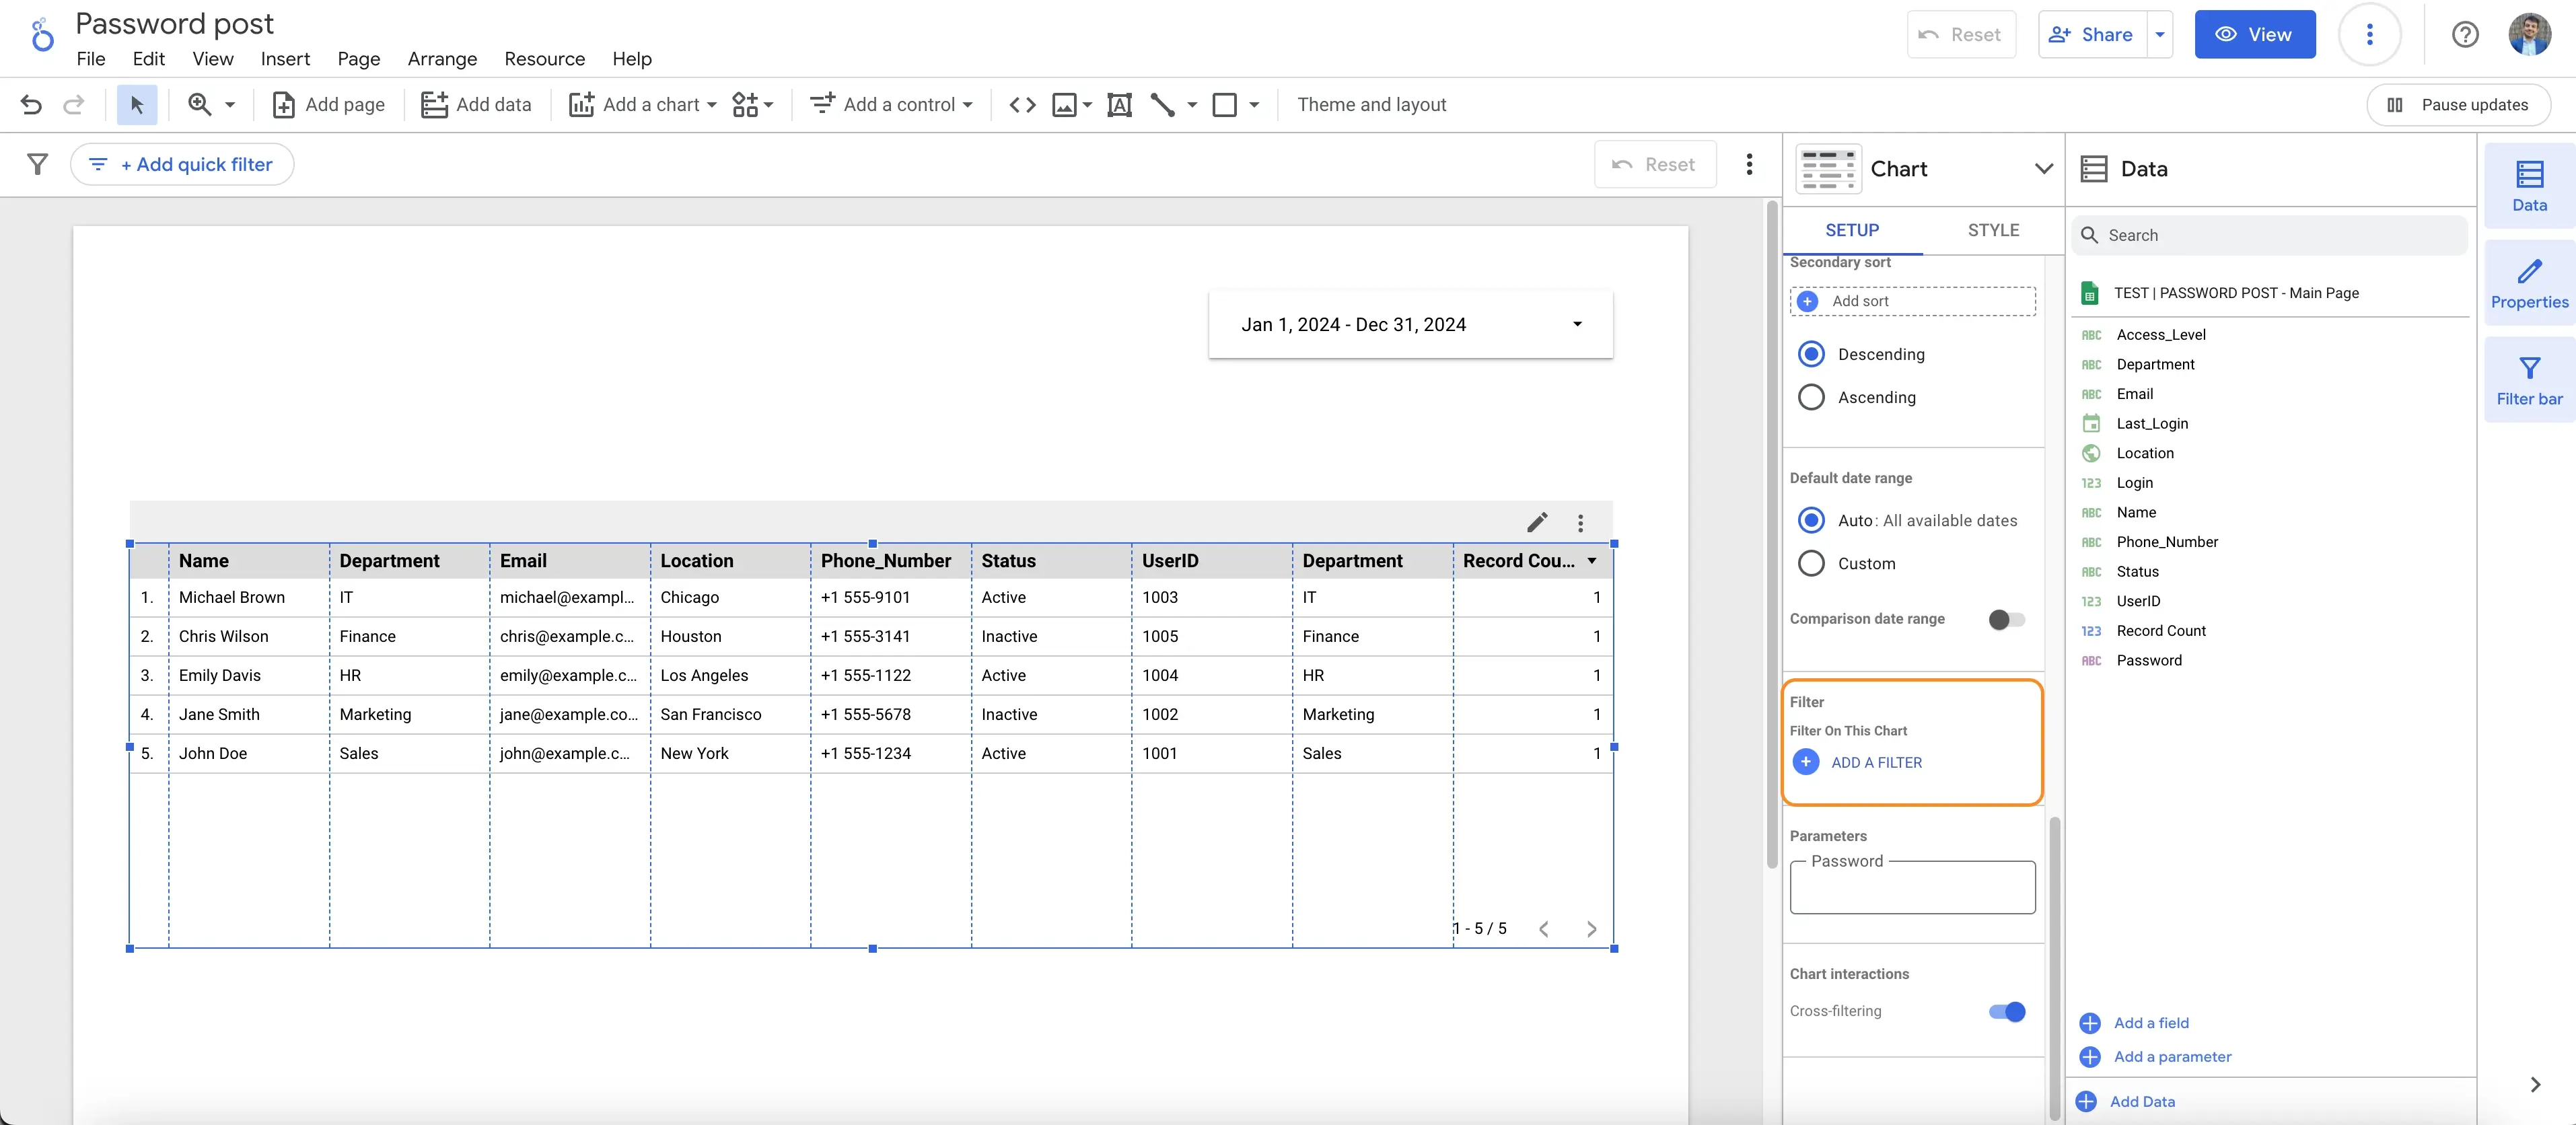
- Go back to the main report page and select any chart (or create one).
- Click on it to open the "SETUP" panel on the right.
- Scroll down to the "Filters" section and click "ADD A FILTER".
How to Apply the Filter

- Open any table or chart in your dashboard.
- Go to the Filters tab.
- Click "Add Filter" and configure it as follows:
- Field: The calculated field from Step 2 ("Login").
- Condition: Exclude when the value is "Null".
By default, the dashboard will remain empty. Once a user logs in with the correct password, their data will appear.
Apply this filter to every chart in the report to ensure full security.
Step 4: Adding the Input Field for User Login
Now, let's add the input field where users will enter their credentials.
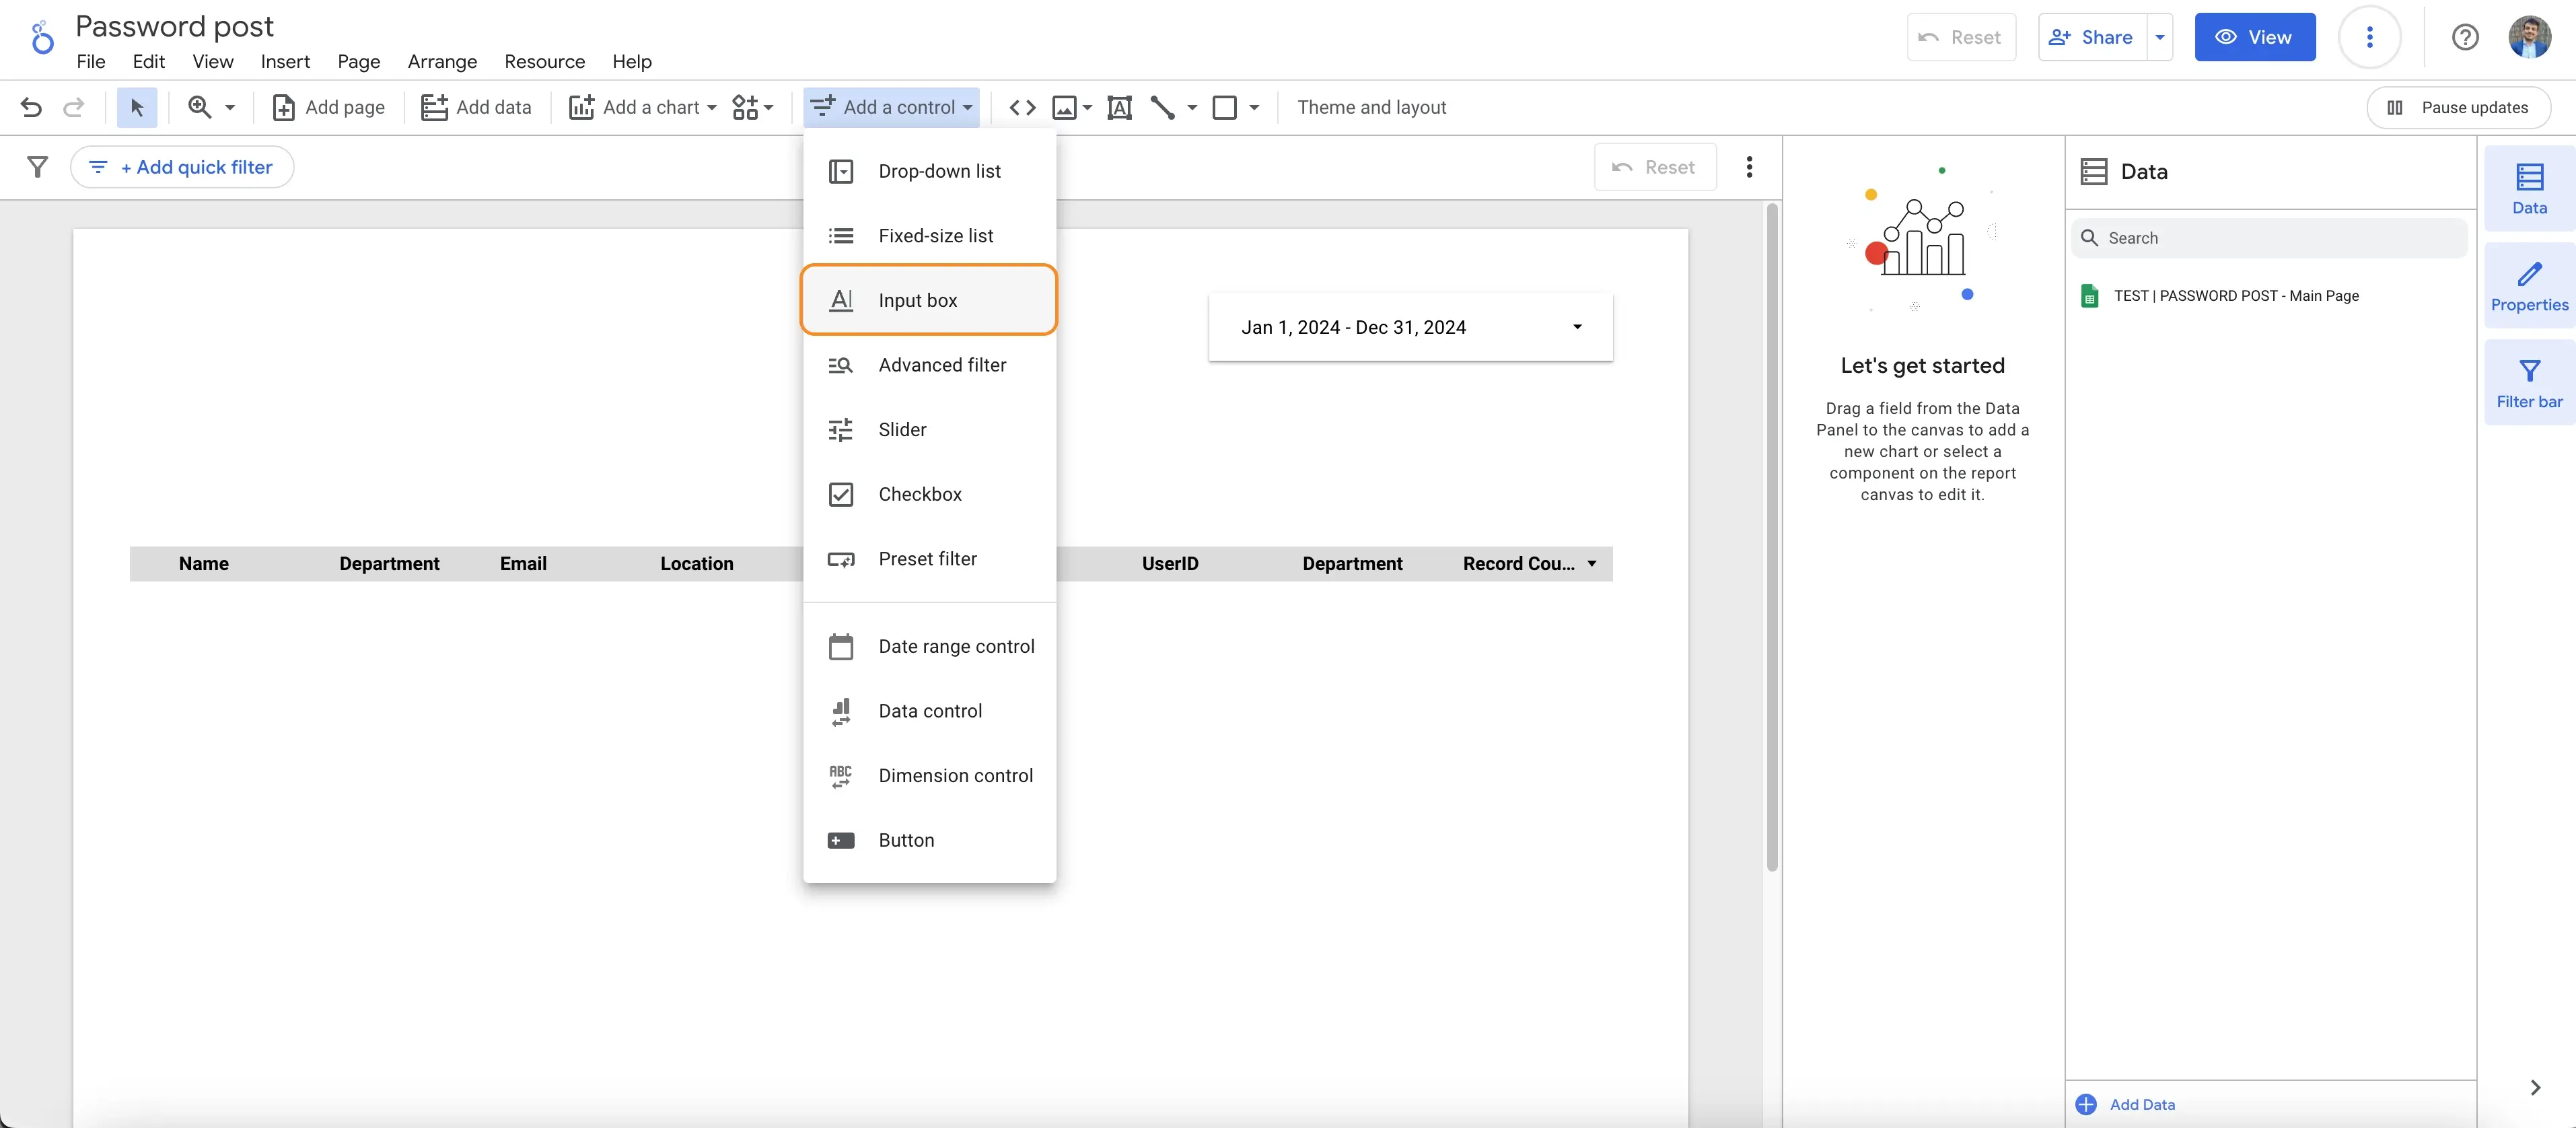
- Go to your main report page and click "Add a control".
- Select "Input box" and place it where you want users to enter their credentials.
Next, link it to the parameter:
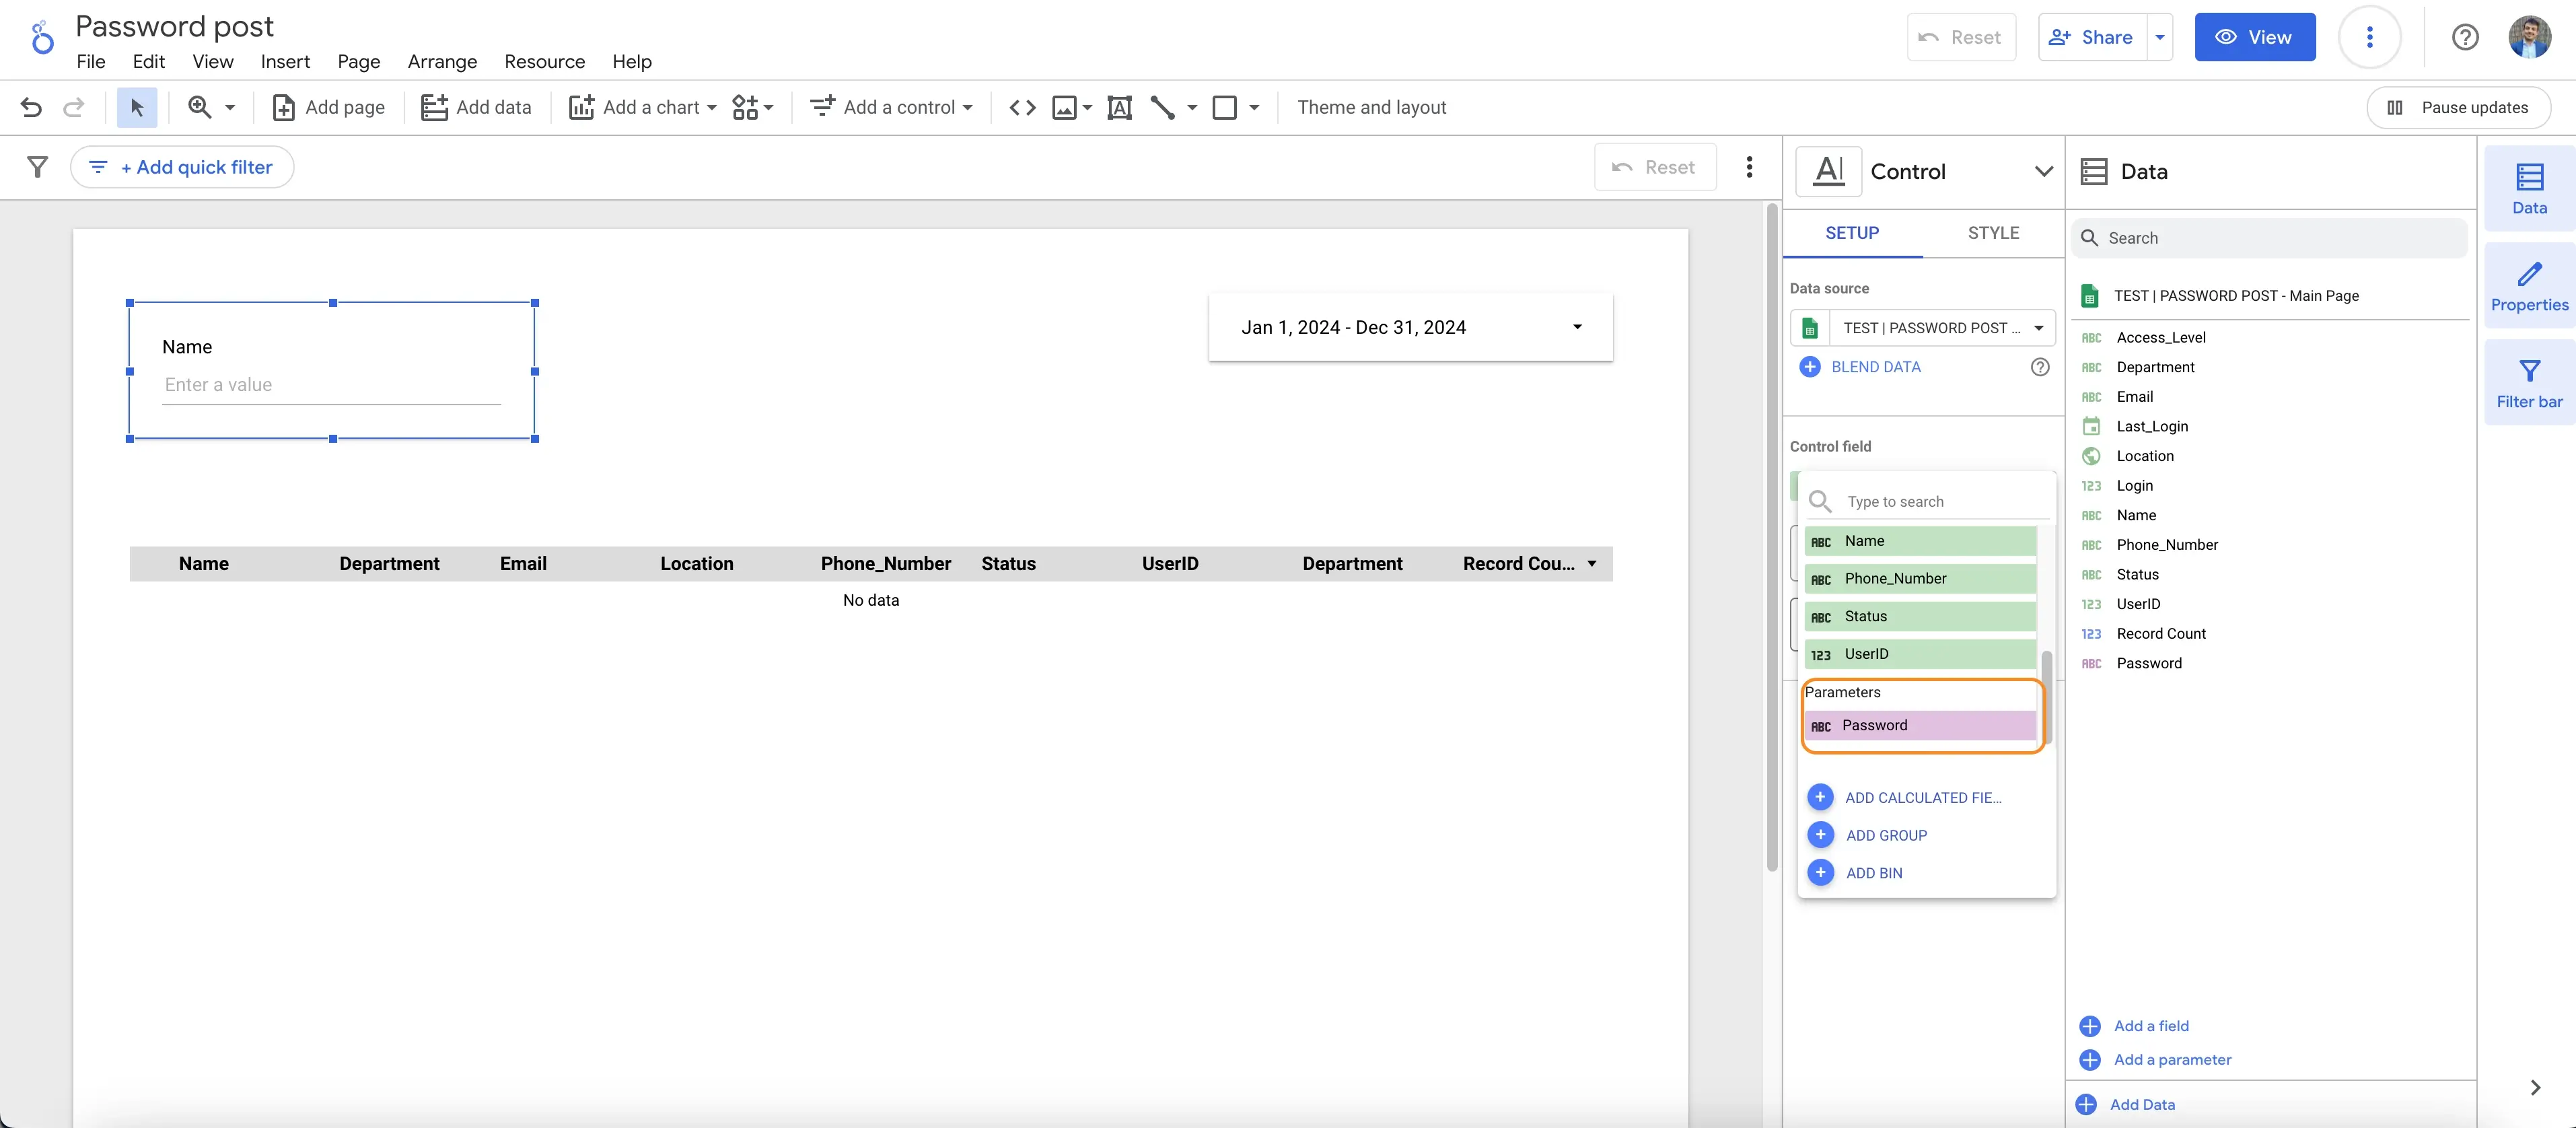
- Click on the input box, and in the "Control Field" settings, scroll down to select the password parameter.
Now, the login system is fully functional.
The Final Outcome
- When the dashboard loads, it shows no data.
- The user enters their UserID as a password.
- Looker Studio verifies the login and displays only the relevant records.
- If the login is incorrect, the dashboard remains blank.
This method ensures each user sees only their own information, with no need for external authentication tools.
Why This Works
- Data privacy is built-in – Users only access their own records.
- No technical knowledge required – A simple Looker Studio setup.
- Compatible with any data source – Works with Google Sheets, BigQuery, MySQL, and more.
Smarter Access Control in Looker Studio
In just a few steps, we’ve created a secure, user-specific login system in Looker Studio—without any coding.
Now, every user has a personalized and secure experience, while ensuring sensitive data remains protected.
Ready to implement access control in your dashboards? Try it today.